The iPhone has always centered on making communication seamless, and with iOS 17, Apple has doubled down on enhancing this core experience—especially when it comes to Stickers. While iOS already let you pull a subject from a photo to turn into a sticker, iOS 17 takes things up a notch: now you can use Live Photos to create fun, interactive animated stickers.
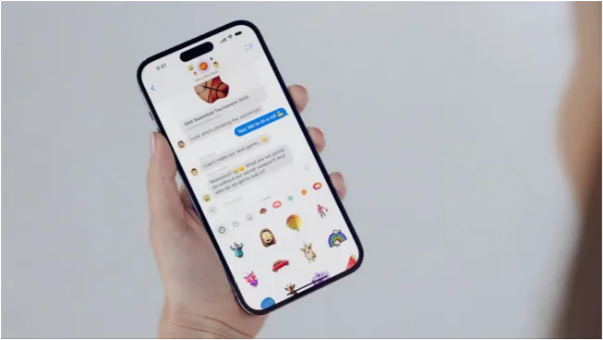
Even better, the updated feature groups all your stickers in one convenient spot, so you can grab them faster than ever. Plus, you can now resize and rotate both stickers and emojis, adding more creativity to your chats. Below’s a simple, step-by-step guide to help you get the most out of iOS 17’s revamped Stickers tool. (Want to level up your sticker collection? Check out our roundup of iPhone sticker packs—they’ll make your texts stand out in no time.)
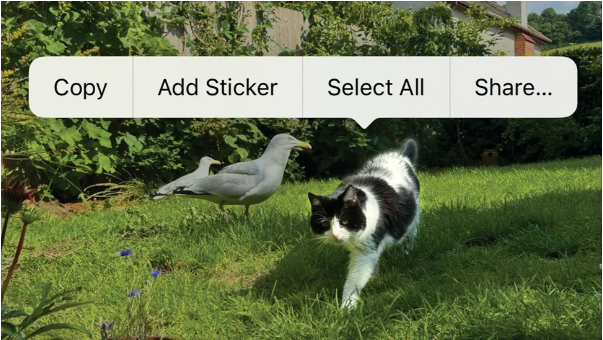
01. Press and Hold to Extract a Subject
To separate a subject from its photo background, just tap and hold the subject until it detaches from the rest of the image. Lift your finger, and a small menu will pop up. Select “Add Sticker” from this menu, and the cut-out will be saved as a usable sticker.
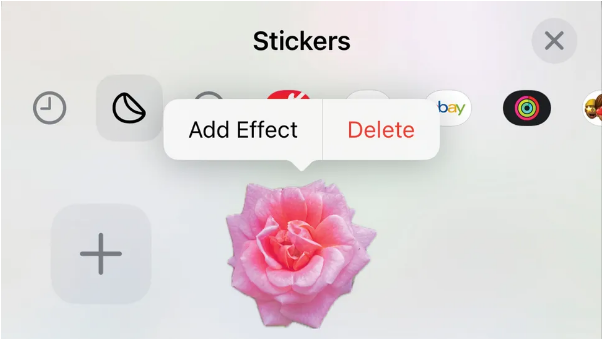
02. Make Animated Stickers with Live Photos
If you use a Live Photo (instead of a regular still photo), your sticker will be animated—matching the movement of the original Live Photo. After tapping “Add Sticker,” you can spruce it up with extra effects: add a bold outline, apply a comic book filter, make it look puffy, give it a shiny finish, or choose from other fun styles.
03. Drag, Rotate, and Resize to Use Your Stickers
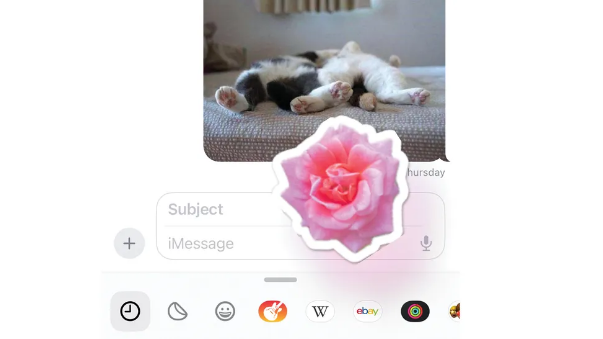
Once you’ve got your sticker (or even a Memoji), drag it into place in any app. Before dropping it, you can tweak it to fit perfectly: twist with two fingers to rotate it, or pinch and spread your fingers to make it bigger or smaller. iOS 17’s stickers aren’t just easier to use—they’re way more flexible, too.