If you want to keep your iPad browsing secure and private—whether you’re at a café or on the go—setting up a VPN is a smart move. Below, we’ll walk you through everything you need to know: what a VPN is, why it’s useful for iPads, and how to get one up and running in just a few steps.
Learning to set up a VPN on your iPad is one of the easiest ways to protect your online identity, even when you’re using your tablet. It doesn’t matter if you have a new iPad with an M1 chip or an older model—VPNs work with all generations of iPads. (If you’re curious about which iPad you own, we’ve got a guide to iPad generations that breaks it down.)
What Is a VPN, Anyway?
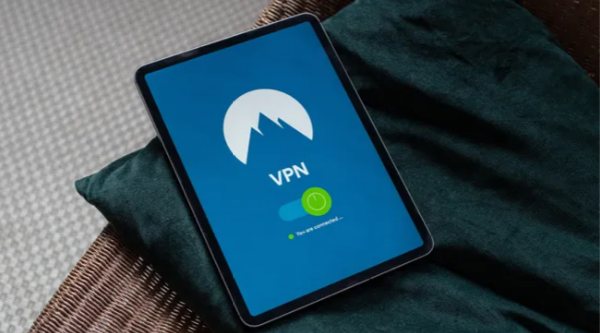
VPN stands for “Virtual Private Network.” At its core, it’s a service that creates a secure, encrypted “tunnel” between your iPad and a remote server. That server can be anywhere in the world—sometimes across the country, sometimes on another continent. This tunnel acts as a middleman between your device and the internet, keeping your activity hidden from prying eyes.
Why You Should Use a VPN on Your iPad
A VPN serves two key purposes for iPad users, both of which are pretty handy for anyone who browses regularly:
- It keeps you private and secure: A VPN masks your real IP address and location, so no one on the network (like hackers at a public Wi-Fi spot or even your internet provider) can see what you’re doing. This makes it harder for websites to track, store, or sell your data. To be clear: A VPN won’t make you completely untraceable (things like website cookies can still follow you), but it’s a simple, effective way to boost your security.
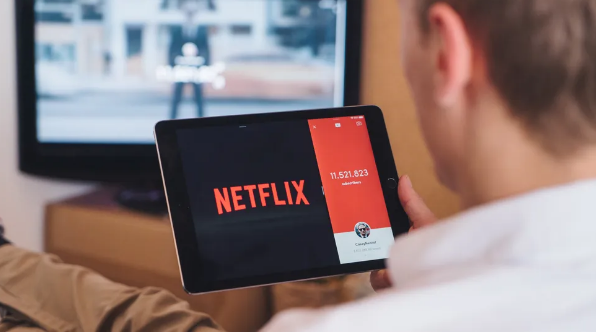
- It lets you access geo-locked content: This is where VPNs really shine for many Americans. By masking your location, a VPN lets you “appear” to be browsing from somewhere else. For example, if you’re traveling abroad and want to stream Hulu or US Netflix (which are only available in the U.S.), you can connect to a U.S.-based VPN server—and suddenly, those services work like you’re back home.
Step-by-Step: Setting Up a VPN on Your iPad
Getting a VPN running on your iPad takes just a few minutes. Here’s how to do it:
- Choose a trusted VPN provider: There are plenty of reliable VPNs that work great with iPads—we’ve rounded up our top picks in a guide to the best VPNs for iPads. Most VPNs require a subscription, but many offer free trials or money-back guarantees. You’ll also usually get a better deal if you sign up for a longer plan (like a yearly subscription instead of monthly).
- Sign up for an account: Once you’ve picked a VPN, go to their website to create an account. Choose your payment plan, enter your info, and confirm your sign-up.
- Download the VPN app from the App Store: All major VPNs have iPad apps, and they’re almost always free to download. Keep in mind, though, you’ll need to make an in-app purchase (or use your subscription login) to unlock full access.
- Log in to the app: Use the username and password you created when signing up. You might also need to agree to a privacy policy—look for language that says the VPN doesn’t collect or log your data (this is a must for privacy).
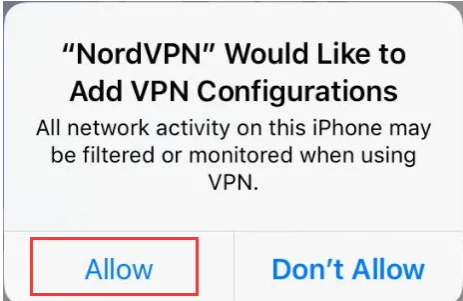
- Grant VPN configuration permissions: The app will prompt you to set up the VPN, and the biggest step here is letting it configure your iPad’s VPN settings. You’ll see a pop-up from your iPad saying something like “ExpressVPN Would Like to Add VPN Configurations.” Tap “Allow.” You may need to use Touch ID or enter your passcode to confirm this step—it’s just Apple’s way of keeping your device secure.
That’s it! Once you’ve done this, your VPN is ready to use. Most subscriptions let you connect multiple devices (like your phone or laptop), so just keep an eye on how many are linked—you don’t want to hit the limit.
How to Spoof Your Location with an iPad VPN
Once your VPN is set up, faking your location to bypass geo-blocks is easy. The exact steps vary slightly by app, but it’s almost always straightforward:
- With IPVanish: Open the app’s main dashboard, and you can select your desired country and city for the VPN server.
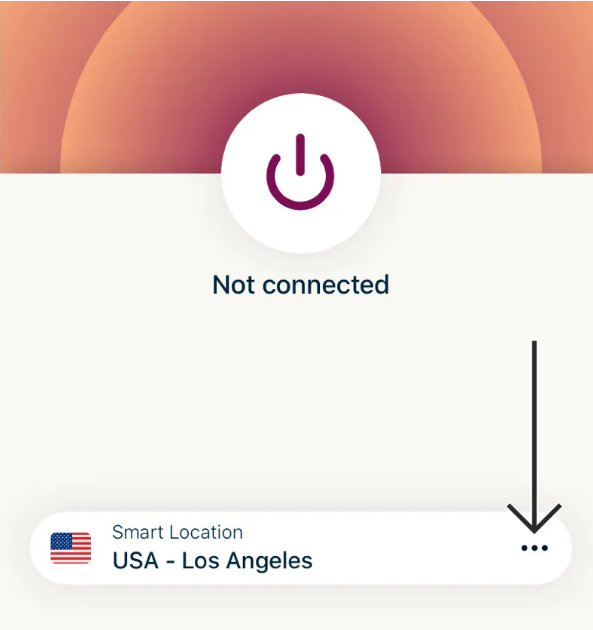
- With ExpressVPN: Tap the connection icon at the top of the app—this will bring up a list of countries, and you can pick whichever one you need.
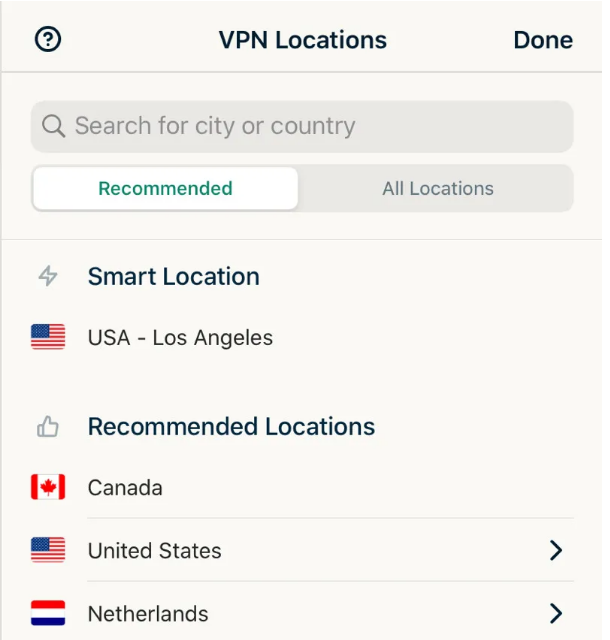
Before you sign up for a VPN, check their website for a list of server locations. If you need access to a specific country (say, Japan for a streaming service), make sure they have servers there first.
Now you’re all set to browse securely, access geo-locked content, and keep your iPad activity private—no tech expertise required!