Why Trust Me for This Review
After over a decade of using Microsoft Windows, I made the conscious decision to transition away from it gradually in 2003 to Linux and, later on, Mac. Although there were still certain Windows applications I used on occasion, these transitions involved using various methods including dual booting, virtualization (VMware Player/VirtualBox/Wine), dual-booting or using Wine (see Alternatives section of this review for details).
Since I had never experienced VMware Fusion before, I installed a 30-day free trial on my MacBook Air. Although it did try running on my 2009 iMac (but without success!). Over the course of a couple weeks or so I put VMware through its paces by installing multiple operating systems – including Windows 10 – as well as testing nearly every feature within its program.
This review covers the Mac version of VMware Fusion, though it’s available for Windows and Linux as well. I will discuss its capabilities as well as my personal preferences relating to how I like and dislike it.
Detailed Review of VMware Fusion
VMWare Fusion is all about running Windows apps (and more) on your Mac. I’ll cover its main features in the following five sections. In each subsection, I’ll first explore what the app offers and then share my personal take.
1. Turn Your Mac Into Several Computers with Virtualization
VMware Fusion is virtualization software — it emulates a new computer in software, a “virtual machine”. On that virtual computer, you can run any operating system you like, including Windows, and any software that runs on that operating system, which is especially useful if you still rely on some non-Mac software.
Of course, you could install Windows on your Mac directly — you can even have both macOS and Windows installed at the same time, and use Bootcamp to switch between them. Of course, that means rebooting your computer each time you switch, which isn’t always convenient. Running Windows in a virtual machine means you can use it at the same time as macOS.
A virtual machine will run slower than your real computer, but VMware has worked hard to optimize performance, especially when running Windows. I found VMware’s performance very snappy.
My personal take: Virtualization technology provides a convenient way of accessing non-Mac software while using macOS.
2. Run Windows on Your Mac Without Rebooting
Why run Windows on your Mac? Here are some common reasons:
- Developers can test their software on Windows and other operating systems.
- Web developers can test their websites on a variety of Windows browsers.
- Writers can create documentation and reviews about Windows software.
VMware provides the virtual machine, you need to supply Microsoft Windows. You can do that by:
- Purchasing it directly from Microsoft and downloading an .IOS disk image.
- Purchasing it from a store and install from a DVD.
- Transferring an already-installed version of Windows from your PC or Mac.
In my case, I purchased a shrink-wrapped version of Windows 10 Home (with an enclosed USB stick) from a store. The price was the same as downloading from Microsoft: $179 Aussie dollars.
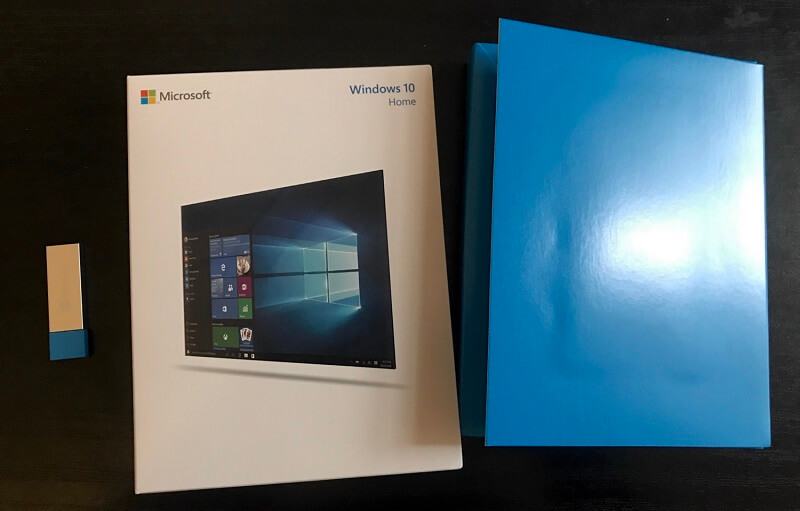
I purchased it a few months ago when evaluating one of VMware’s competitors: Parallels Desktop. While installing Windows using Parallels was a walk in the park, doing the same with VMware wasn’t so easy: I encountered some frustrating and time-consuming dead ends.
Not everyone will experience them. But VMware requires newer hardware than Parallels, and doesn’t support all of the installation options I expected, including installing from USB. If I’d downloaded Windows rather than buying a USB stick, my experience would have been very different. Here are some lessons I learned — I hope they help you to have an easier time.
- VMware Fusion will not run successfully on Macs made before 2011.
- If you encounter error messages during install, restarting your Mac may help.
- You need to allow VMware to access its system extensions in your Mac’s security settings.
- You cannot install Windows (or other operating systems) from a flash drive. The best options are DVD or ISO disk image.
- You can’t use VMware’s Windows Easy Install option on a DMG disk image created with Disk Utility. It must be an ISO disk image. And I couldn’t successfully install Windows without Easy Install — Windows couldn’t find the correct drivers.
So you’ll need to install Windows from either an installation DVD or from an ISO image downloaded from Microsoft’s website. The Windows serial number from my flash drive worked fine with the download.
Once I got the dead ends out of the way, here’s how I installed Windows using VMware Fusion:
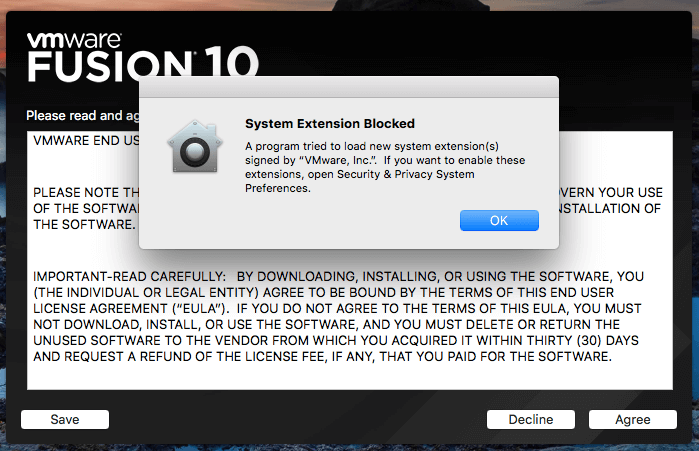
I downloaded VMware Fusion for Mac and installed it. I was warned that macOS High Sierra’s security settings would block VMware’s system settings unless I enabled them in System Preferences.
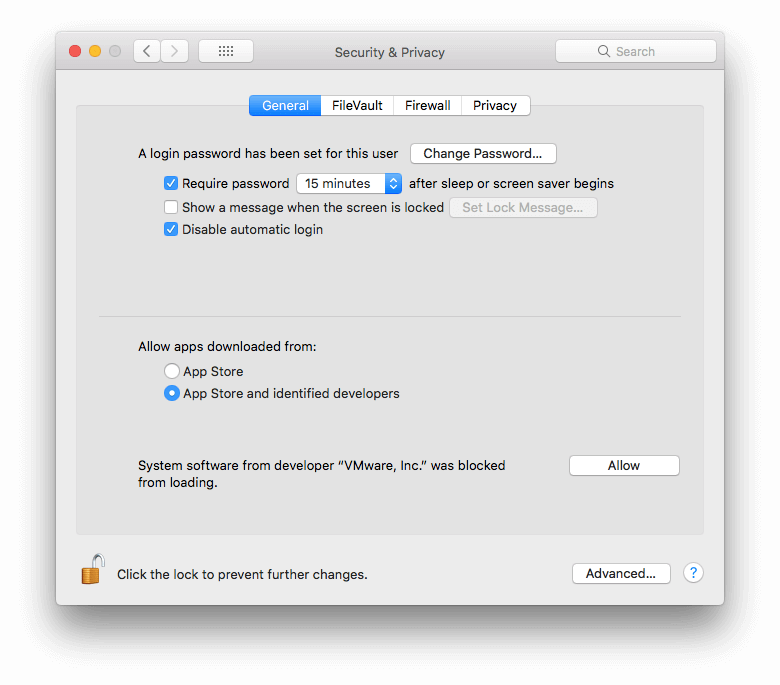
I opened the Security & Privacy System Preferences and allowed VMware to open system software.
I don’t have a license for VMware Fusion, so chose the 30 day trial. I chose the version appropriate for home users. A professional version is also available.
VMware was now installed. It was time to create a virtual machine and install Windows on it. A dialog box to do this popped up automatically. During a previous installation, I restarted my Mac due to error messages. The restart helped.
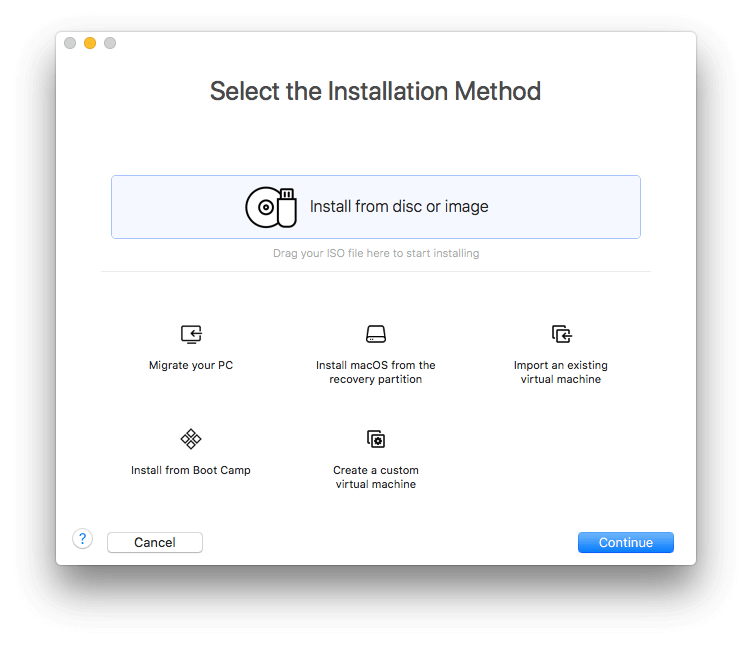
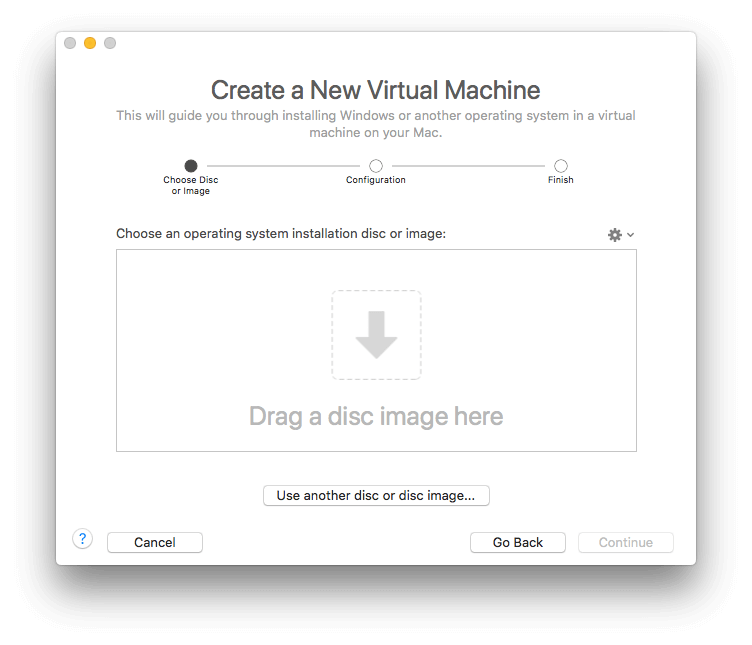
I chose the option to install from a disk image — the ISO file I downloaded from Microsoft. I dragged that file onto the dialog box and entered the Windows 10 product key I received with my installation flash drive.
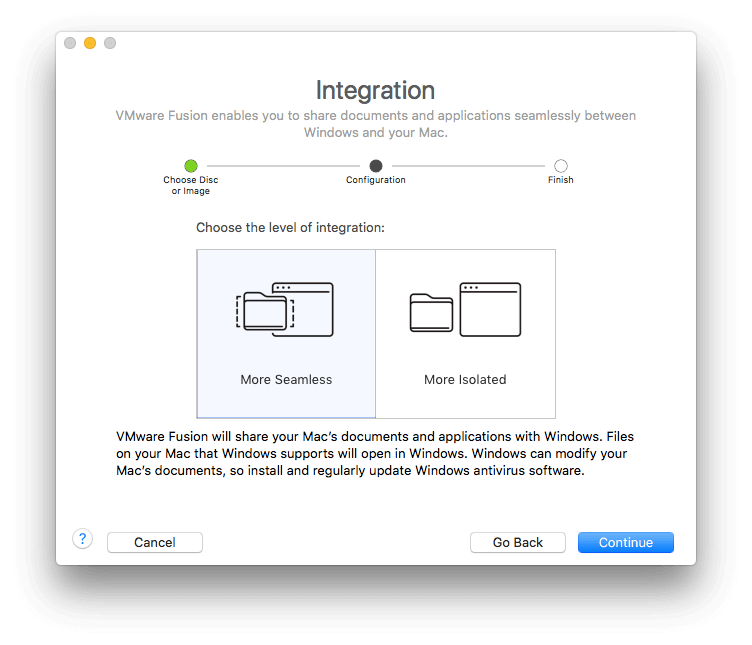
Now I was asked whether I wanted to share my Mac files with Windows, or keep the two operating systems totally separate. I chose a more seamless experience.
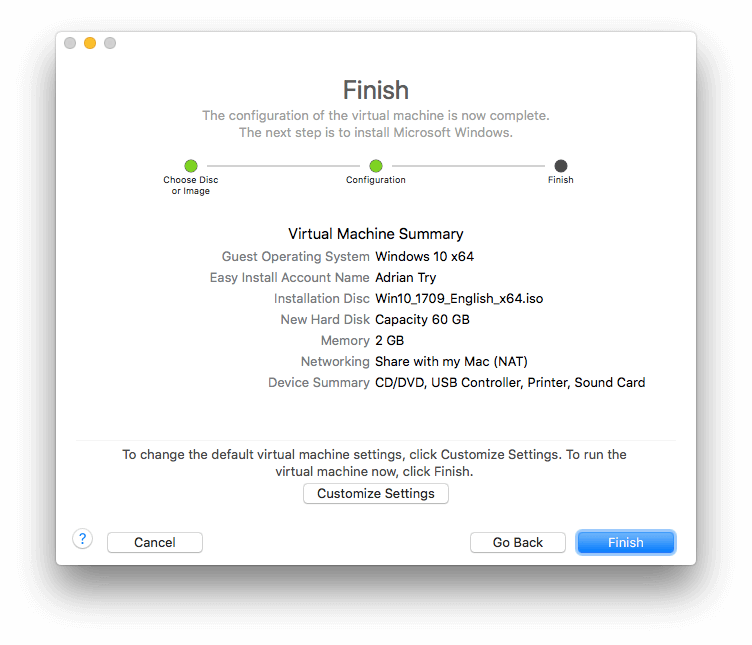
I clicked Finish, and watched Windows install.
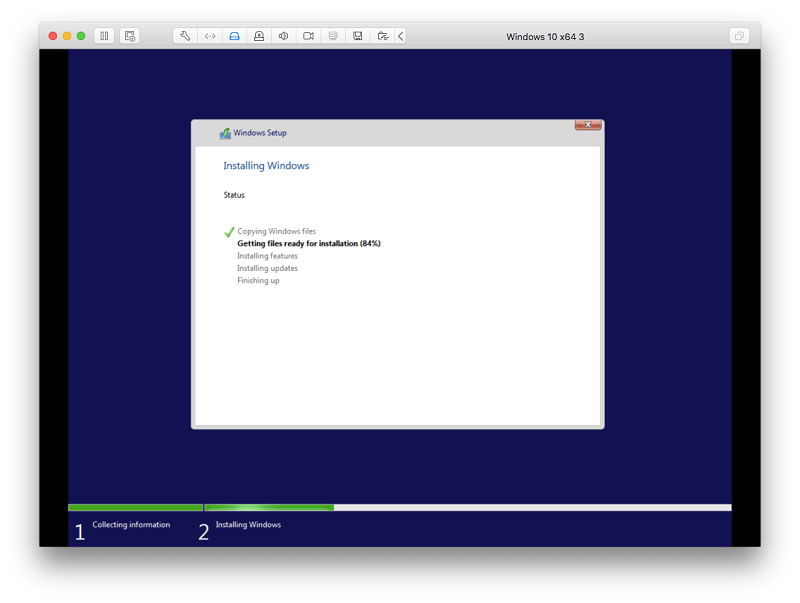
Things are going much smoother this time than previous install attempts. Even still, I hit a roadblock…
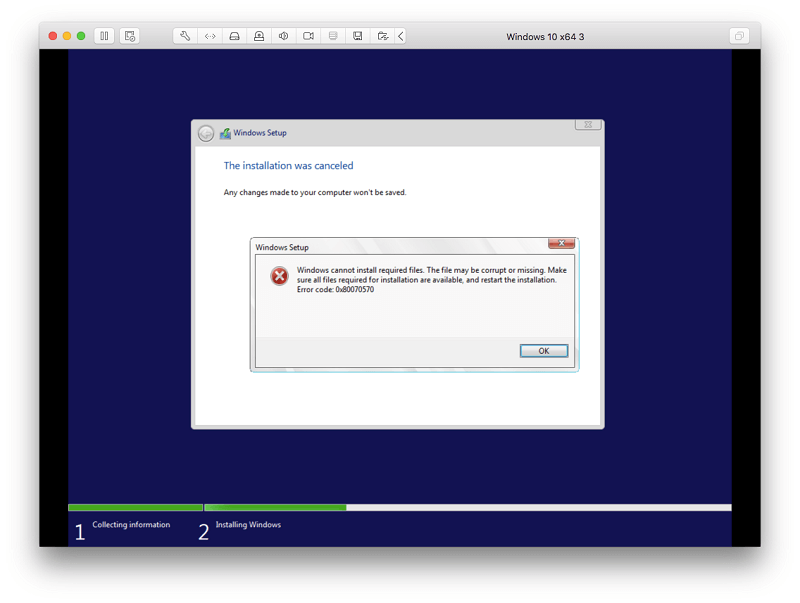
I’m not sure what happened here. I started the install again, and had no problem.
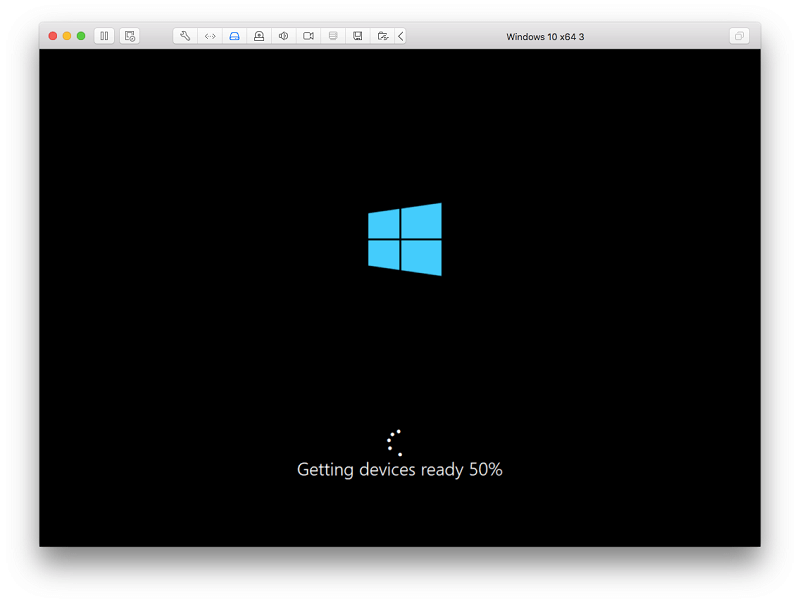
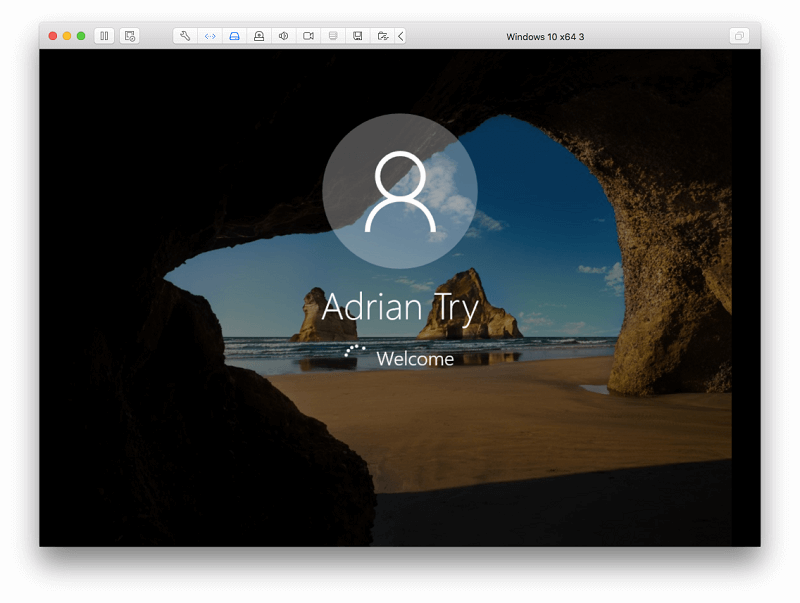
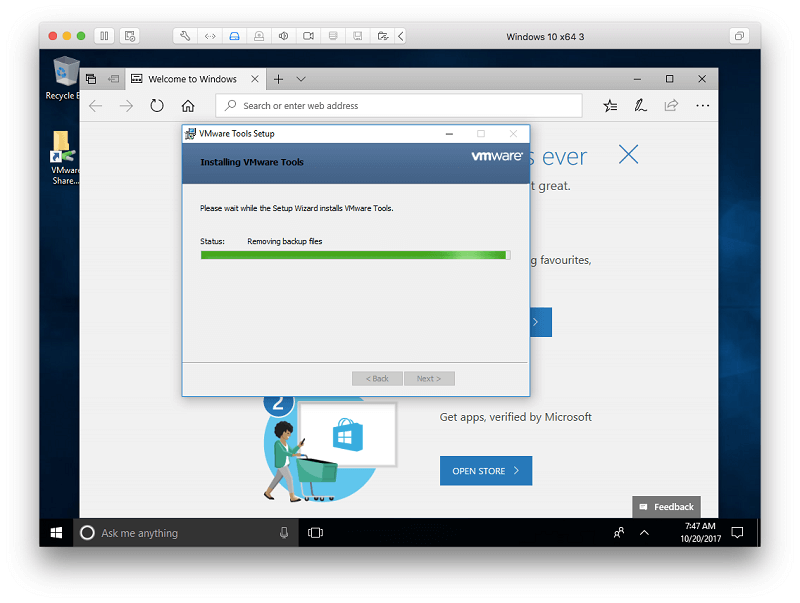
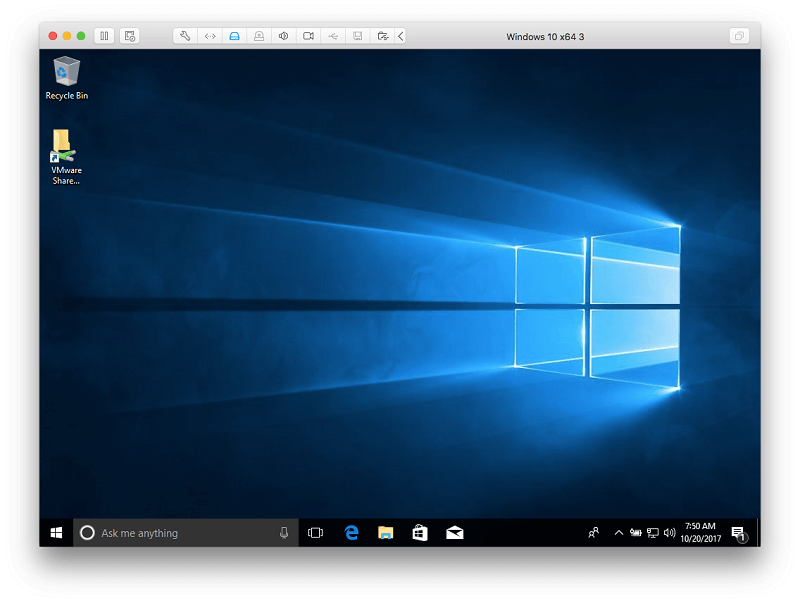
The final step was for VMware to share my Mac desktop with Windows.
Windows is now installed and working.
My personal take: If you need to access Windows apps while using macOS, VMware Fusion is a great option. You won’t need to restart your computer, and Windows performance in a virtual machine is close to when running directly on the hardware.
3. Switch Conveniently between Mac and Windows
Switching between Mac and Windows is quick and easy using VMware Fusion. By default, it runs inside a window like this.
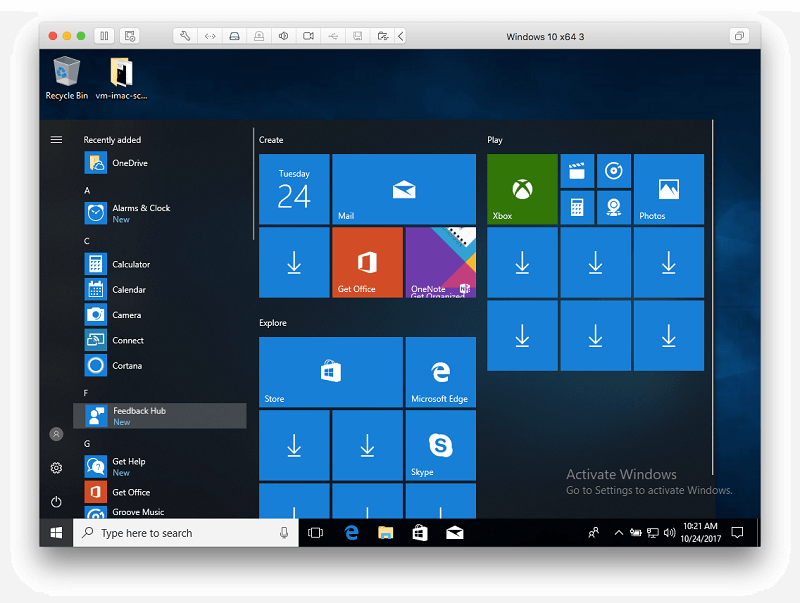
When my mouse is outside of that window, it is the black Mac mouse cursor. Once it moves inside the window, it becomes the white Windows mouse cursor automatically and instantly.
You can also run Windows full screen by pressing the Maximize button. The screen resolution is automatically adjusted to make the most of the extra space. You can switch to and from Windows using your Mac’s Spaces feature with a four-finger swipe gesture.
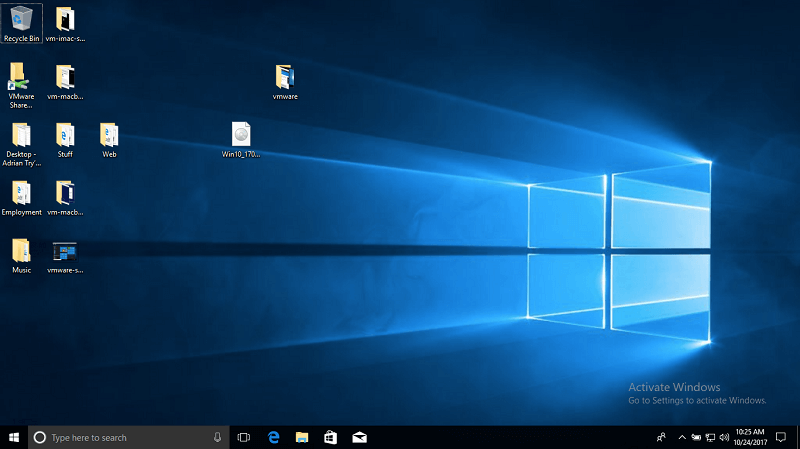
My personal take: Switching to Windows is no harder than switching to a native Mac app, whether VMware is running full-screen or in a window.
4. Use Windows Apps alongside Mac Apps
If your focus is on running Windows apps rather than Windows itself, VMware Fusion offers a Unity View that hides the Windows interface and allows you to run Windows apps as if they were Mac apps.
The Switch to Unity View button is at the top right corner of the VMware Fusion window.
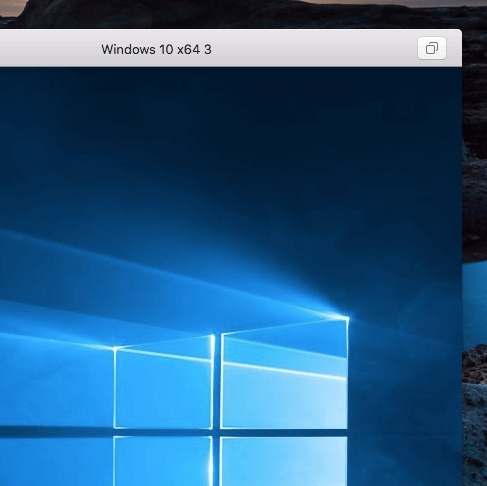
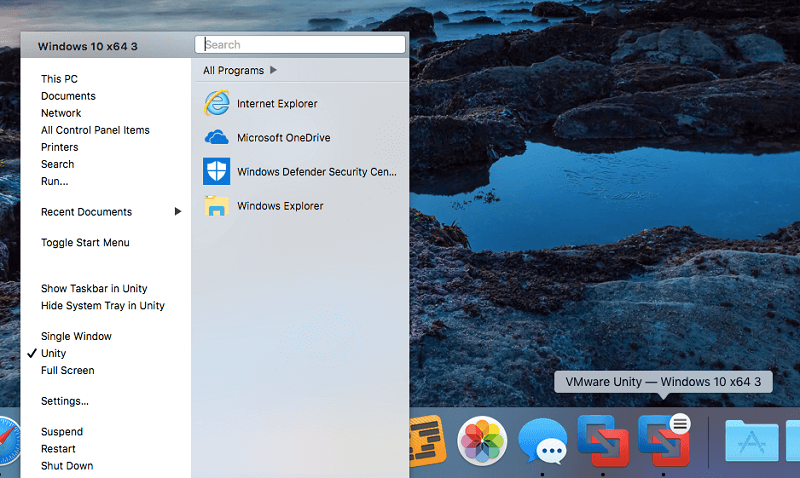
Windows vanishes. A few Windows status icons now appear on the menu bar, and clicking the VMware icon on the dock will display a Windows Start Menu.
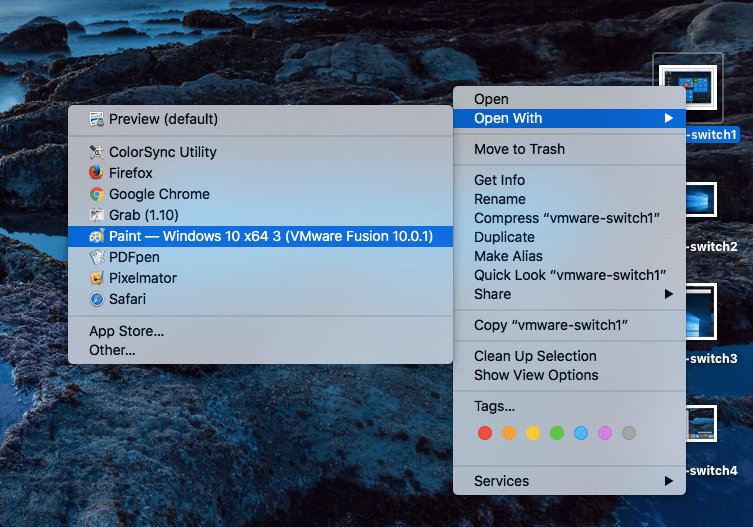
When I right-click on an icon, Windows apps appear in the Mac’s Open With menu. For example, when right-clicking on an image file, Windows Paint is now an option.
When you run Paint, it appears in its own window, like a Mac app.
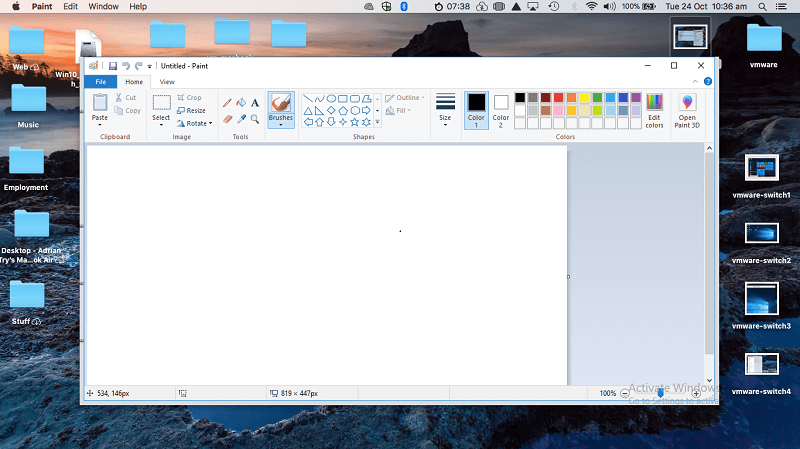
My personal take: VMware Fusion allows you to use Windows apps almost as if they were Mac apps. Using Unity View they can run in their own window, and are listed in macOS’s Open With menu when right-clicking a file.
5. Run Other Operating Systems on Your Mac
You’re not limited to running Windows on a VMware Fusion virtual computer — macOS, Linux and other operating systems can also be installed. That can be useful in situations like these:
- A developer working on an app that runs on multiple platforms can use virtual computers to run Windows, Linux and Android to test the software on.
- Mac developers can run older versions of macOS and OS X to test compatibility.
- A Linux enthusiast can run and compare multiple distros at once.
You can install macOS from your recovery partition or a disk image. You can also install older versions of OS X if you still have the installation DVDs or disk images. I chose to install macOS from my recovery partition.
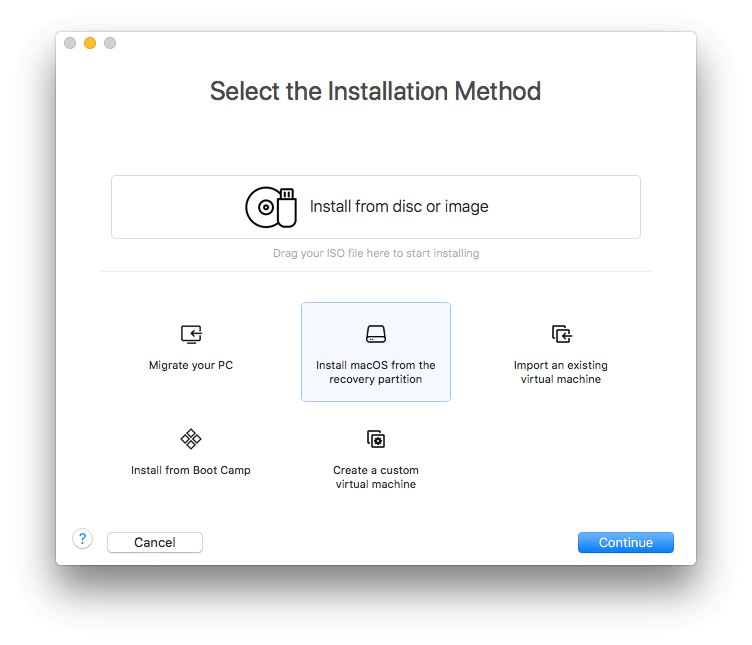
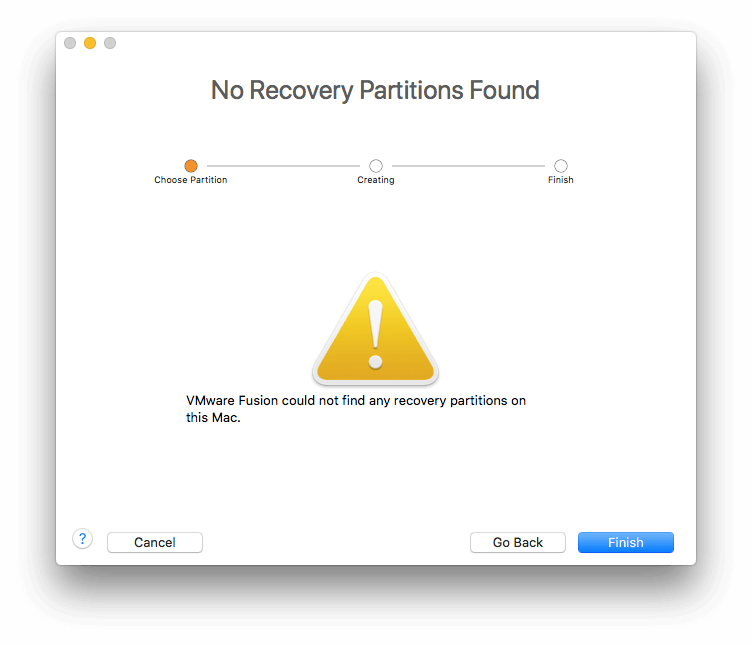
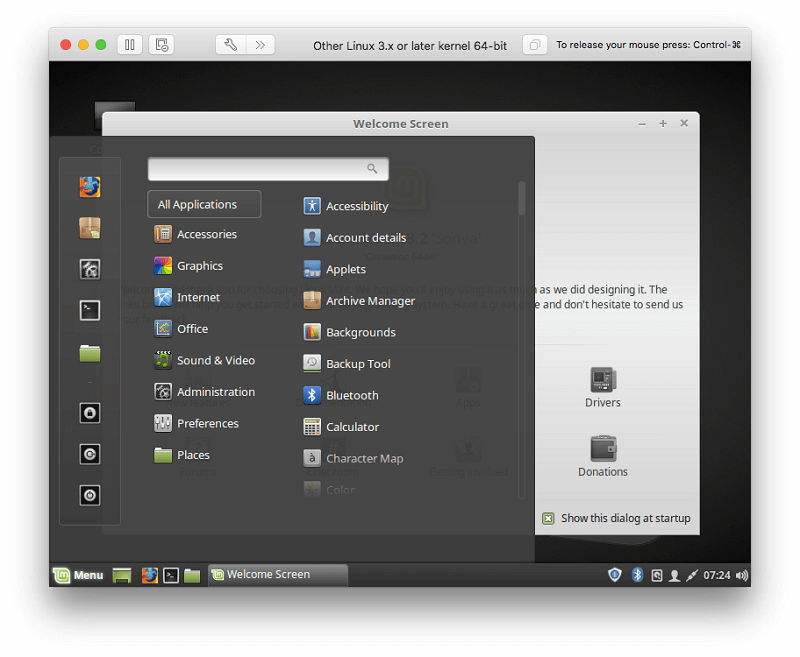
Unfortunately, there is no recovery partition on this Mac, and I don’t have a macOS disk image handy. I do have a Linux Mint installation disk image, so I tried installing that instead.
Now that the virtual machine has been created, the Linux Mint installer will boot and run.
Here Linux is running from the disk image, but is not yet installed on the new virtual computer. I double click on Install Linux Mint.
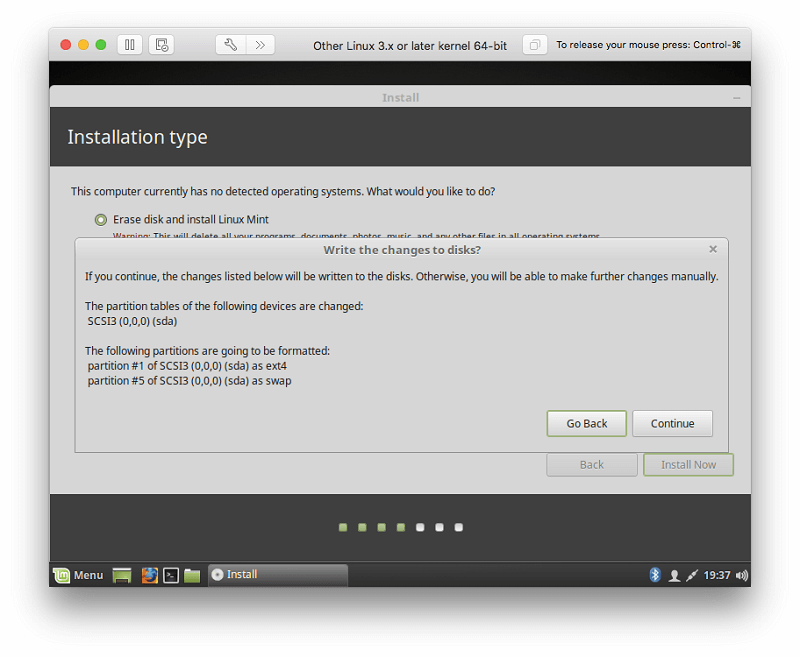
At this point, the virtual machine slowed to a crawl. I tried restarting the virtual machine, but it slowed at an even earlier point. I restarted my Mac, but no improvement. I restarted the install using a mode that uses fewer resources, and that helped. I worked through the installation to get to the same point as where we left off.
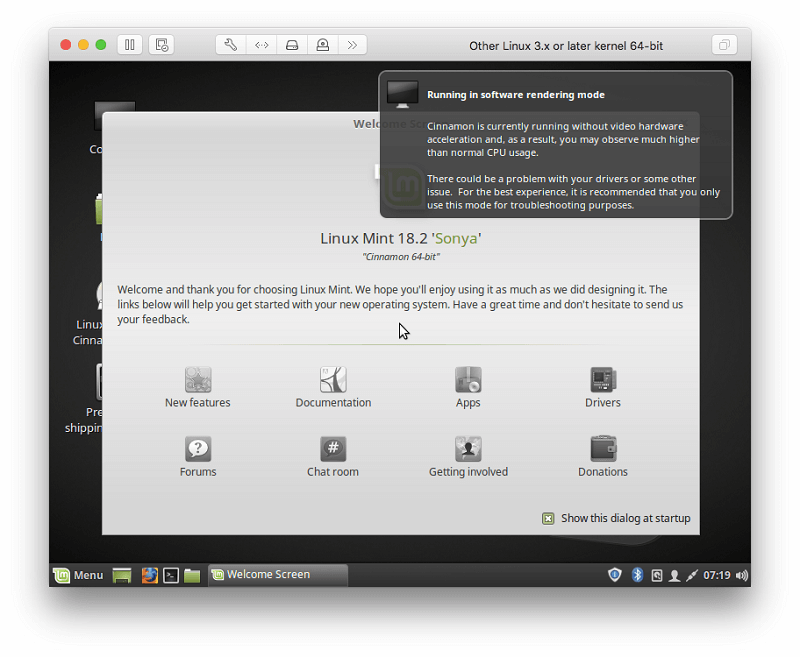
Linux is now installed. Though it’s lacking drivers to work most efficiently on VMware’s virtual hardware, performance is pretty good. VMware does provide drivers, so I try to install them.
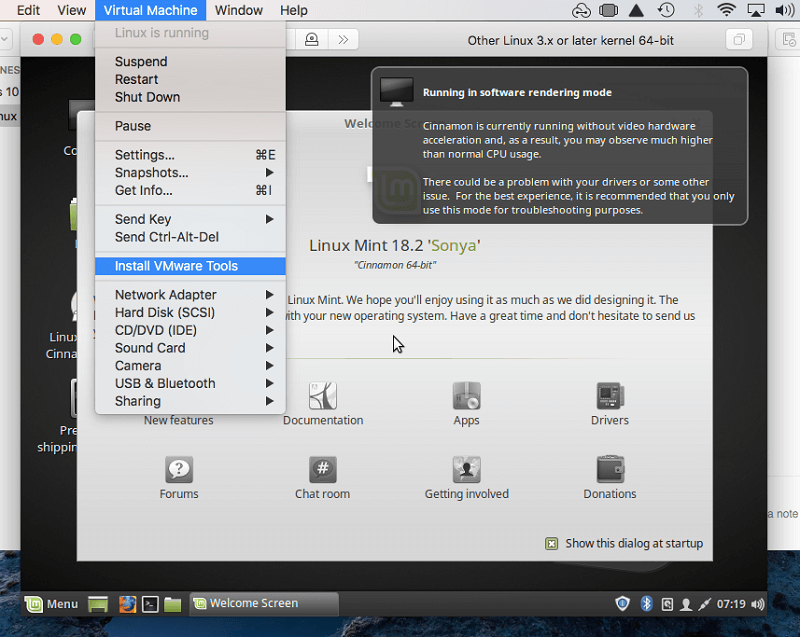
Driver installation didn’t seem successful. It would have been good if it worked first time, but if I had more time, I’m sure I could get it working. Performance is pretty good all the same, especially for apps that are not graphics intensive.
